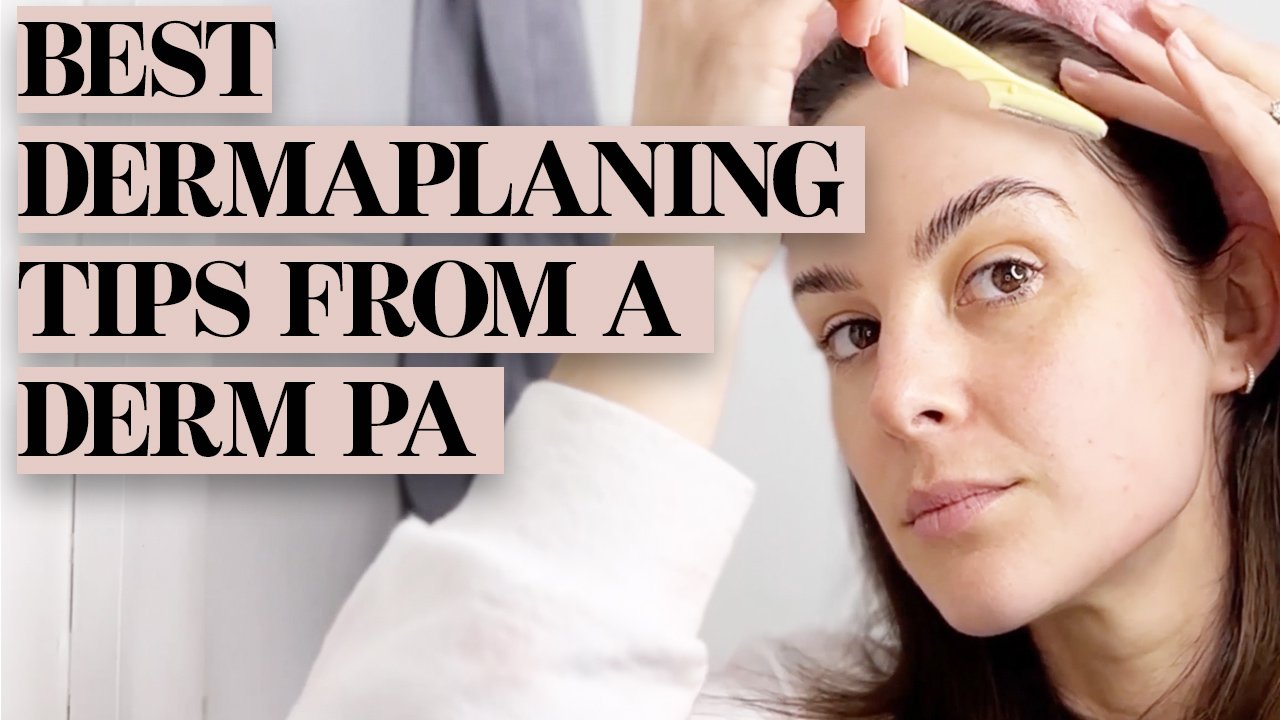
How To Dermaplane At Home

Let's dive right into the world of dermaplaning at home to achieve smoother, glowing skin. Also known as facial shaving, dermaplaning goes beyond hair removal. It's a blend of gentle exfoliation and the elimination of vellus hairs, or "baby hairs," from the face. On top of this, it also provides a smooth canvas for optimal skin and makeup application. Trust me there is no better feeling that doing your skincare and makeup the morning after a good face shave, your skin feels like butter! Here's my guide to dermaplaning safely and effectively at home:
What Is Dermaplaning:
Dermaplaning is a physical exfoliation method that carefully removes the top layers of dead skin cells along with fine facial hair. This process can help support a smoother, brighter skin surface, enhancing both the efficacy and absorption of skincare products. It's also super affordable and so simple!
Benefits of Dermaplaning:
Improved Skin Texture and Clarity: By removing dead skin cells, dermaplaning can help the skin appear more even in texture.
Improved Skincare Efficacy: Post-dermaplaning, skincare products penetrate deeper due to the removal of surface barriers.
Makeup Application: Makeup glides on seamlessly onto the smoother skin surface, resulting in a flawless finish.
Hair Removal: If you have any peach fuzz, or perhaps some stubborn upper lip or chin hairs, this will take care of it! Plus, if you’re in the middle of laser hair removal treatments, it won’t impede the treatment like waxing or threading can!
Does Dermaplaning Affect Hair Growth:
Before we get into the process of dermaplaning, I want to debunk a myth I hear often. Something that is commonly said is that dermaplaning affects hair growth, causing it to return thicker or darker. This misconception is unfounded; hair characteristics such as thickness and color are genetically predetermined and not influenced by dermaplaning. You may feel the hair more as it comes in depending on your hair’s thickness but it is NOT thicker.
Before Dermaplaning:
Step 1: 1st Cleanse
Before dermaplaning, it’s crucial to prepare your skin adequately with a double cleanse (aka the only way to remove all your sunscreen and makeup). Start with a cleansing balm like the Bye Bye Makeup 3-in-1 Makeup Melting Cleansing Balm. This product not only dissolves makeup but gives the skin a brighter appearance with its rosehip oil and ceramide-rich formula. Start by massaging it onto dry skin, adding water to emulsify, and then gently wiping it off with a soft cleansing cloth.
Step 2: 2nd Cleanse
To make sure you remove ALL sunscreen and makeup, a second cleanse is essential. I love the Avocado Ceramide Moisture Barrier Cleanser for dry skin types, which hydrates and fortifies the skin barrier. If you have dry skin, opt for milky or creamy cleansers. If you have oily skin, gel or foaming cleansers are for you. You can also read my suggestions on choosing the right cleanser. Gently pat your face fully dry (you definitely want a dry canvas before dermaplaning).
Step 3: Dermaplaning
With your skin fully cleansed and dry, you’re ready to begin the dermaplaning process. There are so many incredible dermaplaning tools out there, but a great starter tool is the tinkle razor. It’s super affordable and beginner-friendly. Gently pull your skin taut and use the razor with light pressure. Aim for small, controlled strokes to remove hair and dead skin cells. Avoid applying too much pressure to prevent cuts and scrapes. Remember this is a blade, so use caution!
Step 4: Mild Exfoliation
I like to keep the rest of my routine pretty simple after dermaplaning. A gentle exfoliant like Naturium’s Vegan Lactic Acid Emulsion 5% can help prevent breakouts. Note that higher concentrations might cause irritation post-dermaplaning.
Step 5: Serum
From here, I love to go in with your serum step! Depending on your concerns this will vary. For anti-aging serums I love DefenAge BioSerum. Its patented formula is designed to reduce the appearance of fine lines, enlarged pores, and uneven pigmentation.
Step 6: Moisturize
Conclude with a rich moisturizer like Dr. Jart’s Ceramidin to deeply nourish the skin barrier, ensuring your skin remains hydrated and protected. Take a peek at my tips for moisturizers for every skin type.
I can’t wait for you all to give dermaplaning a go yourselves! It’s such a simple tool you can add to your routine for glowy, clear skin. For a step by step tutorial, make sure to watch my recent youtube video on my Dermaplaning Routine.
**Disclaimer: This post does not constitute medical device. Please speak to your Dermatology provider before adding any at home procedures or products into your routine!